
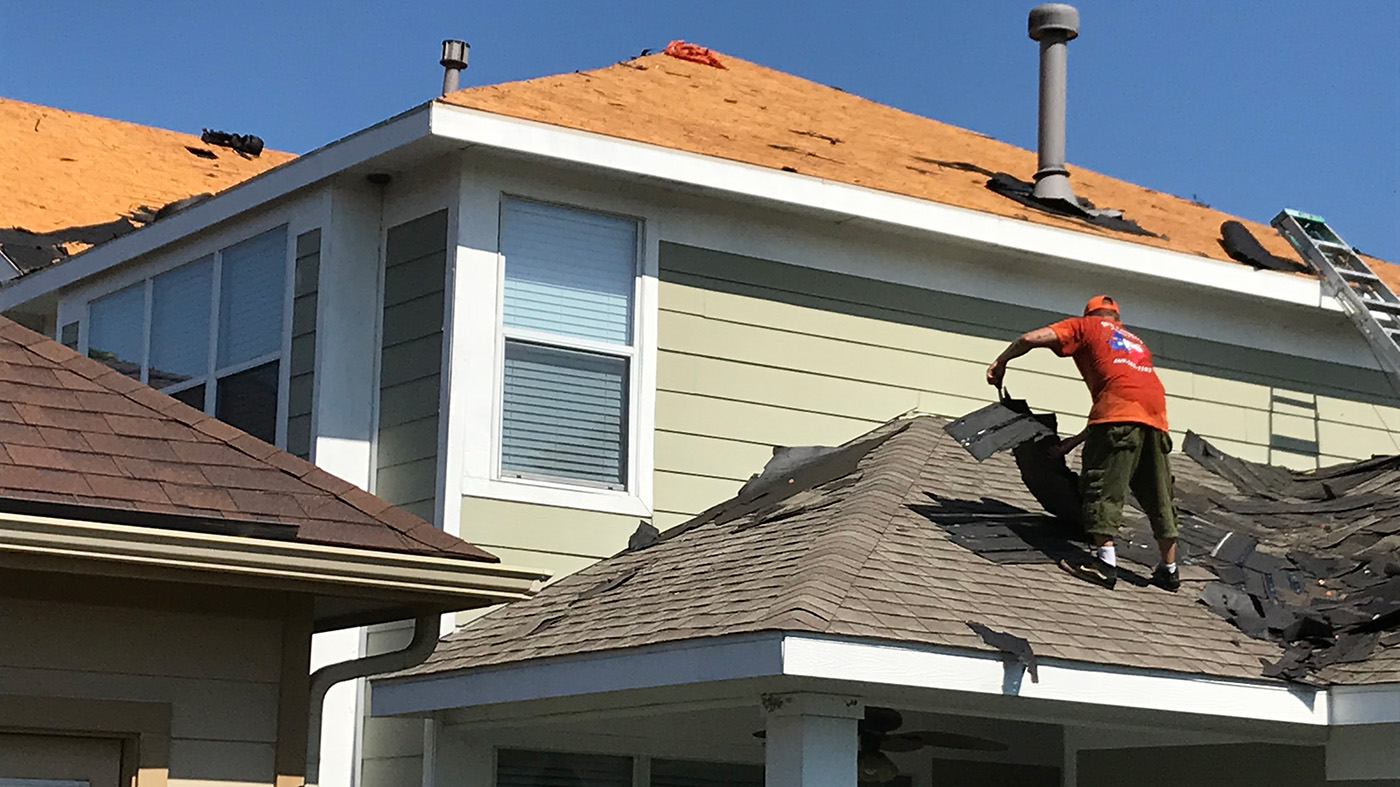
After a storm, start your roofing paperwork with one goal: make each observation easy to find and each proposed repair easy to understand. Keep your own photos, contractor findings and estimate revisions together, while labeling who supplied each item. You do not need to diagnose your roof to prepare useful questions. For Longhorn homeowners, a simple folder and a short comparison sheet are practical starting points before deciding what work to authorize.
Start with a folder and a dated index
Create a main folder named for your property and the date you began documenting conditions. If the storm date is uncertain, write “date uncertain” rather than choosing one. Inside it, make separate folders for homeowner photos, contractor inspection reports, estimates, correspondence and receipts. Keep an index document at the top with the inspection dates, contractor names and current unanswered questions.
Use the index as your working notebook. Record when you first noticed something, what you observed and whether anyone has inspected it. Separate “first noticed on Tuesday” from “caused by Tuesday’s storm.” Ask the inspector to explain any conclusion about cause and to identify the evidence used. This keeps your notes focused on observations you can describe accurately.
Give photos locations and preserve the originals
In its hail and windstorm guidance, the Texas Department of Insurance recommends photos, video and a list of damage inside and outside the home. For your own documentation, take pictures only from safe ground-level positions or safely accessible indoor areas. Leave roof access and close-up roof inspection to professionals. Do not climb onto the roof for a better photograph.
Keep the original files in one folder and make separate copies for labels or annotations. Give each working copy a useful name, such as “2026-10-20_front-entry_photo-01.” Use the actual capture date when known. If you receive a contractor’s photograph without a date or location, ask for that information rather than filling it in yourself.
- Identify the location: Use consistent descriptions such as front entry, driveway side or rear patio.
- Describe the observation: Write “ceiling mark above hallway door” rather than assigning a roof diagnosis.
- Record the photographer: Distinguish your pictures from images supplied by each contractor.
- Pair views when available: Ask for an overview showing the location and a close-up showing the reported condition.
Number the photos and use those numbers in your question list. Instead of asking “What about that spot?”, ask “What does photo 07 show, and where is it on the roof?” Request a location sketch if the explanation remains difficult to follow.
Ask for an inspection report you can follow
Before an inspection, ask what documentation you will receive. Request a dated report that identifies inspected areas, findings, photographs and areas the contractor could not evaluate. Ask the contractor to distinguish observed conditions from interpretations and proposed work. Put unanswered questions in your index so you can return to them when the report arrives.
- “Which photo supports each proposed repair?” Use this to connect a recommendation to a specific documented location.
- “What did you inspect, and what could you not inspect?” Use this to clarify the boundaries of the visit.
- “What supports your explanation of the condition?” Ask for the reasoning behind a conclusion rather than accepting an unexplained label.
- “What additional evaluation would you recommend?” Use this to identify the next question before choosing a scope.
For background on the service you are considering, review Longhorn’s roofing services. Bring your photo index and question list to the conversation, and ask for the written estimate to reference the inspection findings.
Include focused questions about roof details
Pacific Northwest National Laboratory’s guide to existing roof penetrations explains that openings for vents, chimneys and skylights can provide paths for water leakage. Ask, “Which of these locations did you inspect, and can you label them in the report?” Then ask, “Does the proposed work include flashing at those locations, and what is excluded?” Record the answers beside the relevant photographs.
If an estimate proposes a new roof covering, ask, “How will you evaluate the decking, document findings and explain any additional proposed work?” TDI’s storm repair guidance recommends inspecting the roof deck and replacing damaged or deteriorated decking before installing a new roof covering. Request a written explanation of how the contractor will handle findings that require a revised estimate. Keep this as a decision question for the contractor, without attempting to inspect or expose materials yourself.
Compare estimates using the same questions
Create a comparison sheet with one column per contractor. Copy descriptions from each estimate into matching rows, and mark anything unstated as “not specified.” Avoid assuming that a broad phrase includes every item you discussed during the visit. Send each contractor the same clarification questions so you can review their written answers together.
- Work area: Which roof sections or specific locations are included?
- Proposed approach: What work is recommended, and which documented findings support it?
- Materials: What products are named, and which selections remain open?
- Related details: What does the scope say about flashing, vents and other identified features?
- Site arrangements: What protection, debris removal and cleanup are included?
- Changes: How will additional findings, proposed costs and your authorization be recorded?
Compare the written scope alongside the total. If two proposals differ, ask each contractor to explain the difference in work area, products or included tasks. Request a revised document when an answer changes the proposal. Keep your own comparison notes separate from the contractor’s estimate.
Track revisions and prepare your next conversation
Save each estimate with its contractor name, issue date and version. Keep earlier versions in an archive folder, and mark the current proposal in your index. After a call, record the date, participants, questions and answers. Request written confirmation of any explanation you intend to rely on when making your decision.
Before your next conversation, assemble a short packet: the photo index, selected images, inspection reports, current estimates and unresolved questions. Choose the few questions that matter most to your decision. To discuss your property with Longhorn, use the website inquiry form and summarize the observations and documentation you have. Ask how to share your files and what the inspection will cover before the visit.